
DIY Perfume: How to Create Your Own Signature Fragrance at Home | Albatross clothing
Ever wondered what it takes to craft a custom perfume that’s uniquely you? Making your own fragrance is easier than you think. With a few simple ingredients and a bit of creativity, you can blend top, middle, and base notes to design a signature scent that reflects your personality. Follow this step-by-step guide to start your DIY perfume journey.
Why Make Your Own Perfume?
-
Personalization: No more settling for off-the-shelf scents—your fragrance can be tailored to your exact taste.
-
Control Over Ingredients: Opt for natural essential oils and avoid synthetic chemicals.
-
Budget-Friendly: Small batches cost less than luxury bottles, yet feel just as special.
-
Creative Process: Experimenting with blends is both fun and rewarding.
What You’ll Need
| Item | Purpose |
|---|---|
| Essential oils | Top, middle, and base fragrance notes |
| Perfumer’s alcohol or jojoba oil | Solvent and carrier |
| Glass dropper bottles (10–30 ml) | Storage and age-proof blending |
| Small amber vials for samples | Testing blends without waste |
| Glass stirring rod or stainless steel mixing tool | Gentle mixing without reactions |
| Perfume strips or blotter paper | Smelling and comparing your test blends |
| Labels and marker | Recording your “formulas” |
Step 1: Understand Fragrance Notes
-
Top Notes (10–30% of blend): First impression—citrus, mint, or light florals.
-
Middle (Heart) Notes (40–60%): Core personality—jasmine, lavender, rosemary.
-
Base Notes (20–30%): Longevity and depth—vanilla, sandalwood, patchouli, musk.
A balanced perfume often follows a 30/50/20 ratio of top/heart/base.
Step 2: Plan Your Signature Scent
-
Choose a Theme: Fresh & citrusy, warm & spicy, or cool & aquatic.
-
Select Oils:
-
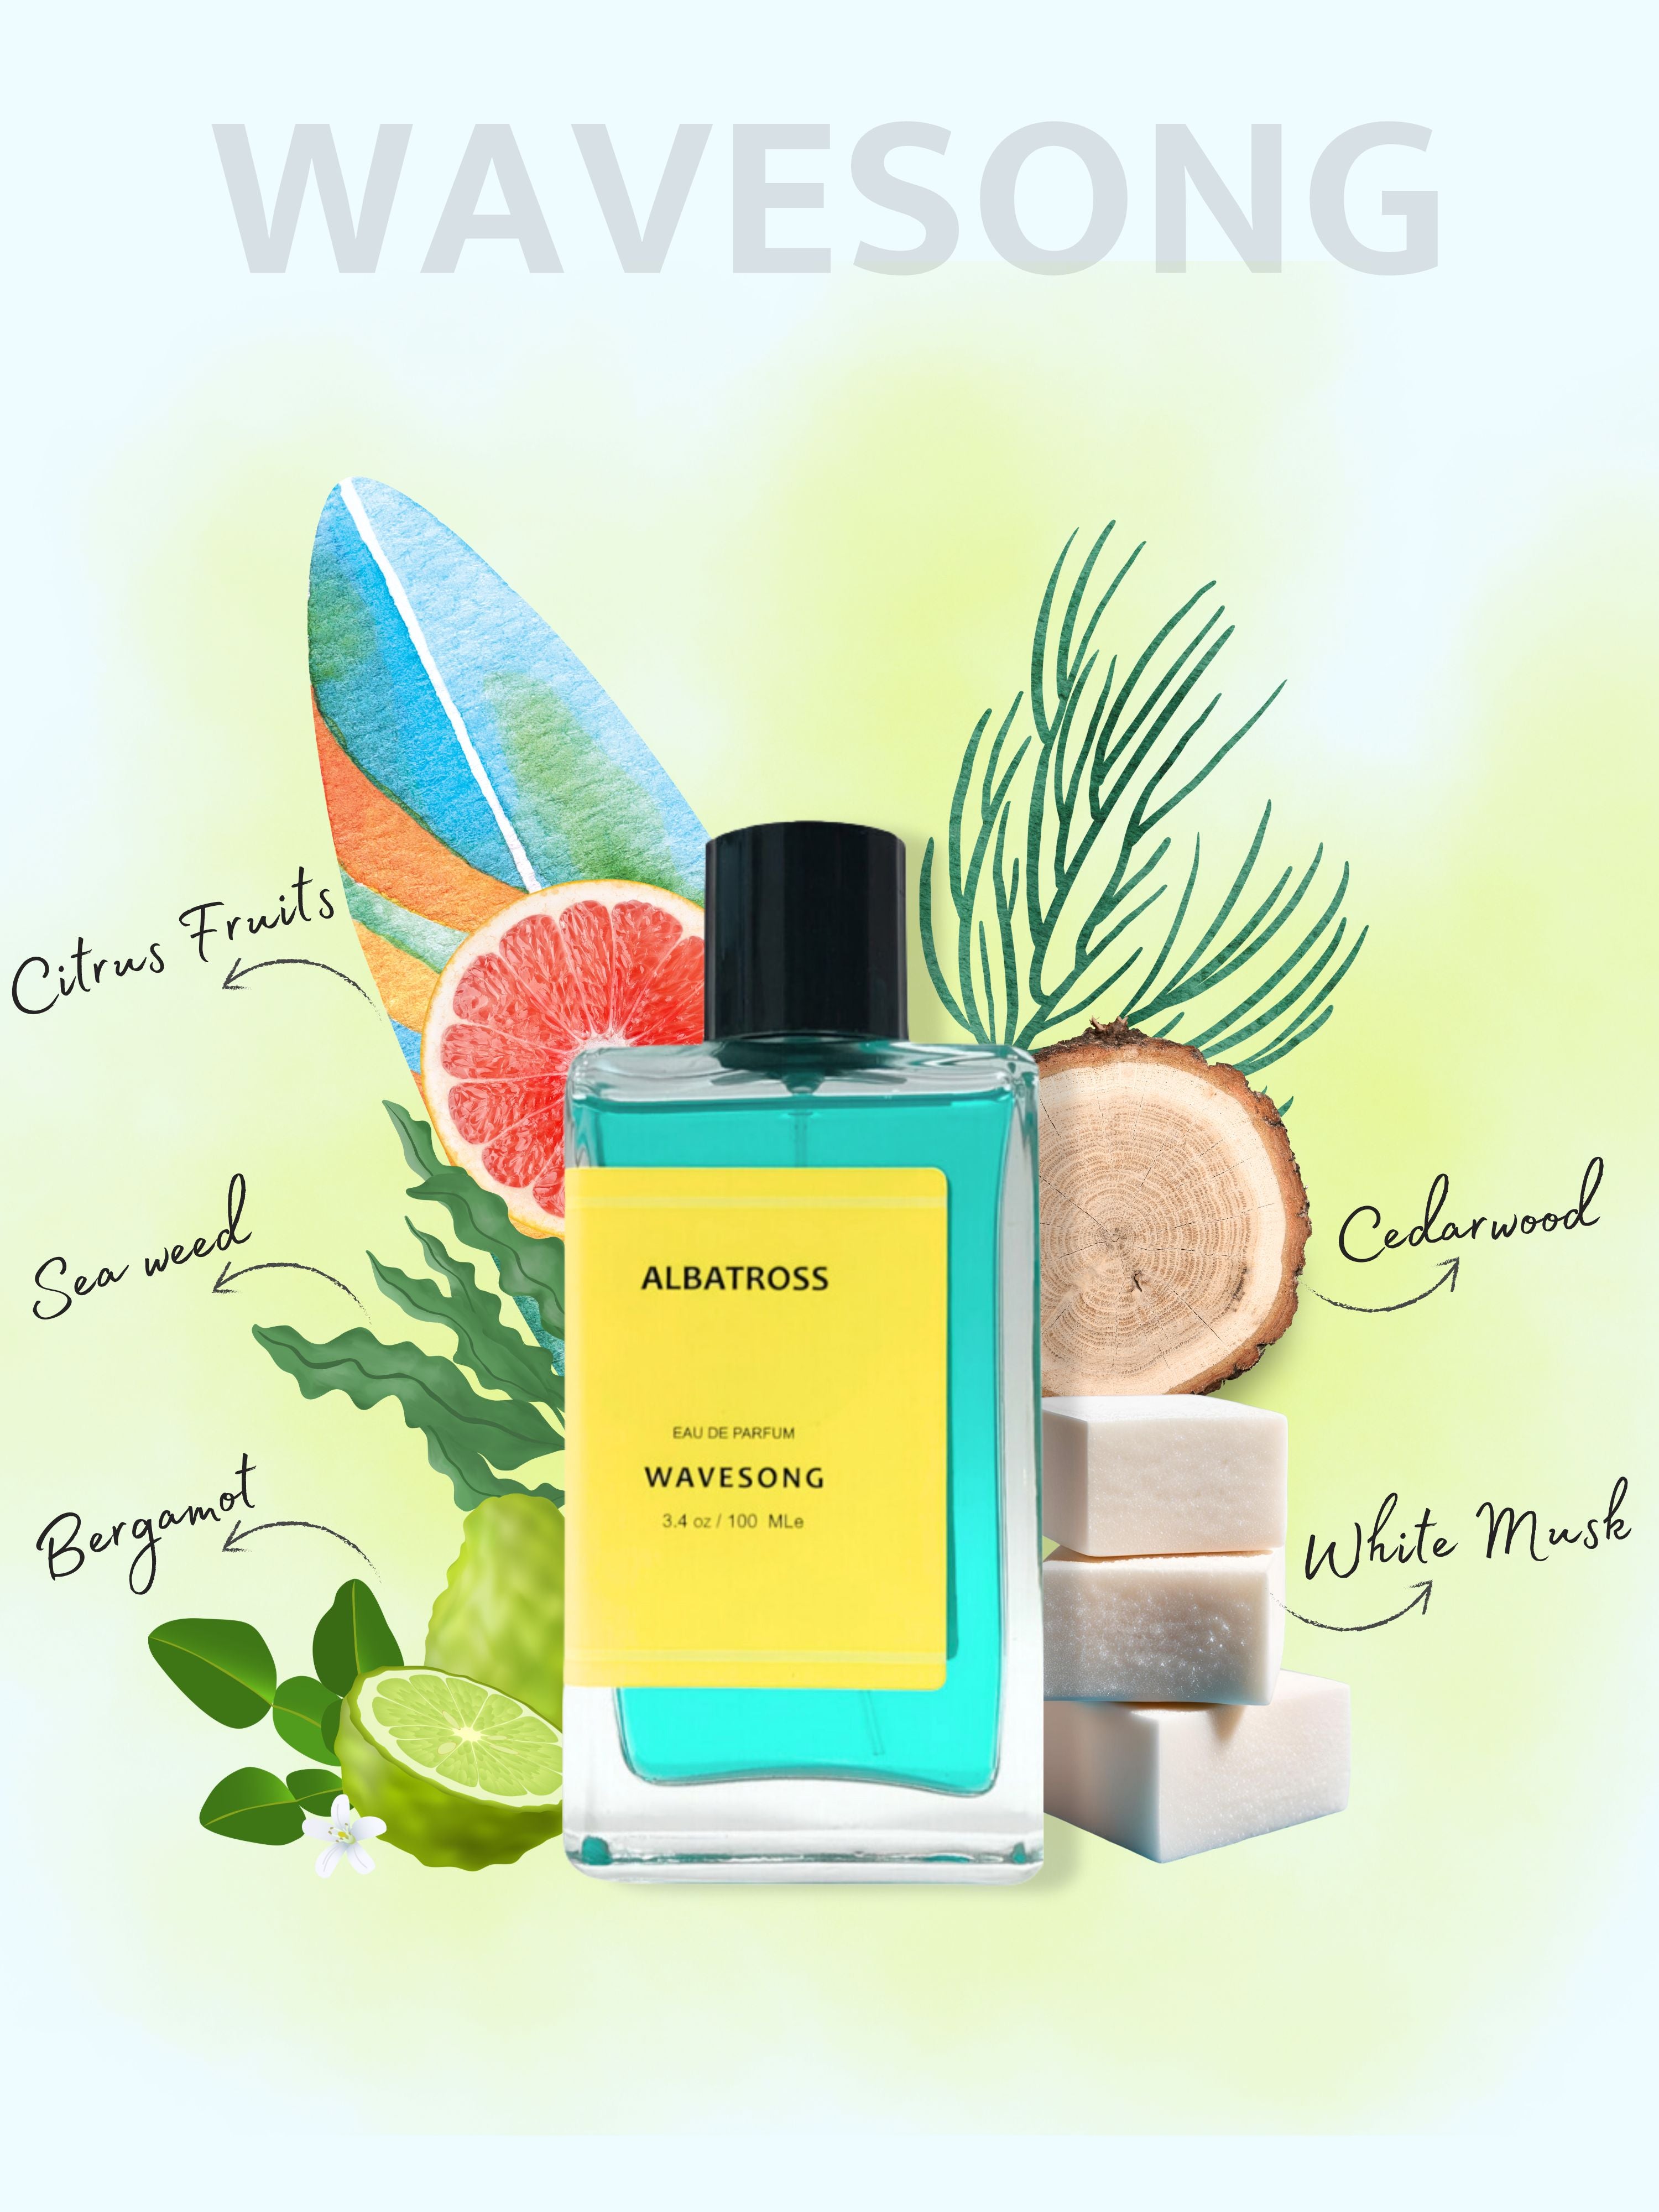
Top: Bergamot, grapefruit, peppermint
-
Middle: Rose, ylang-ylang, chamomile
-
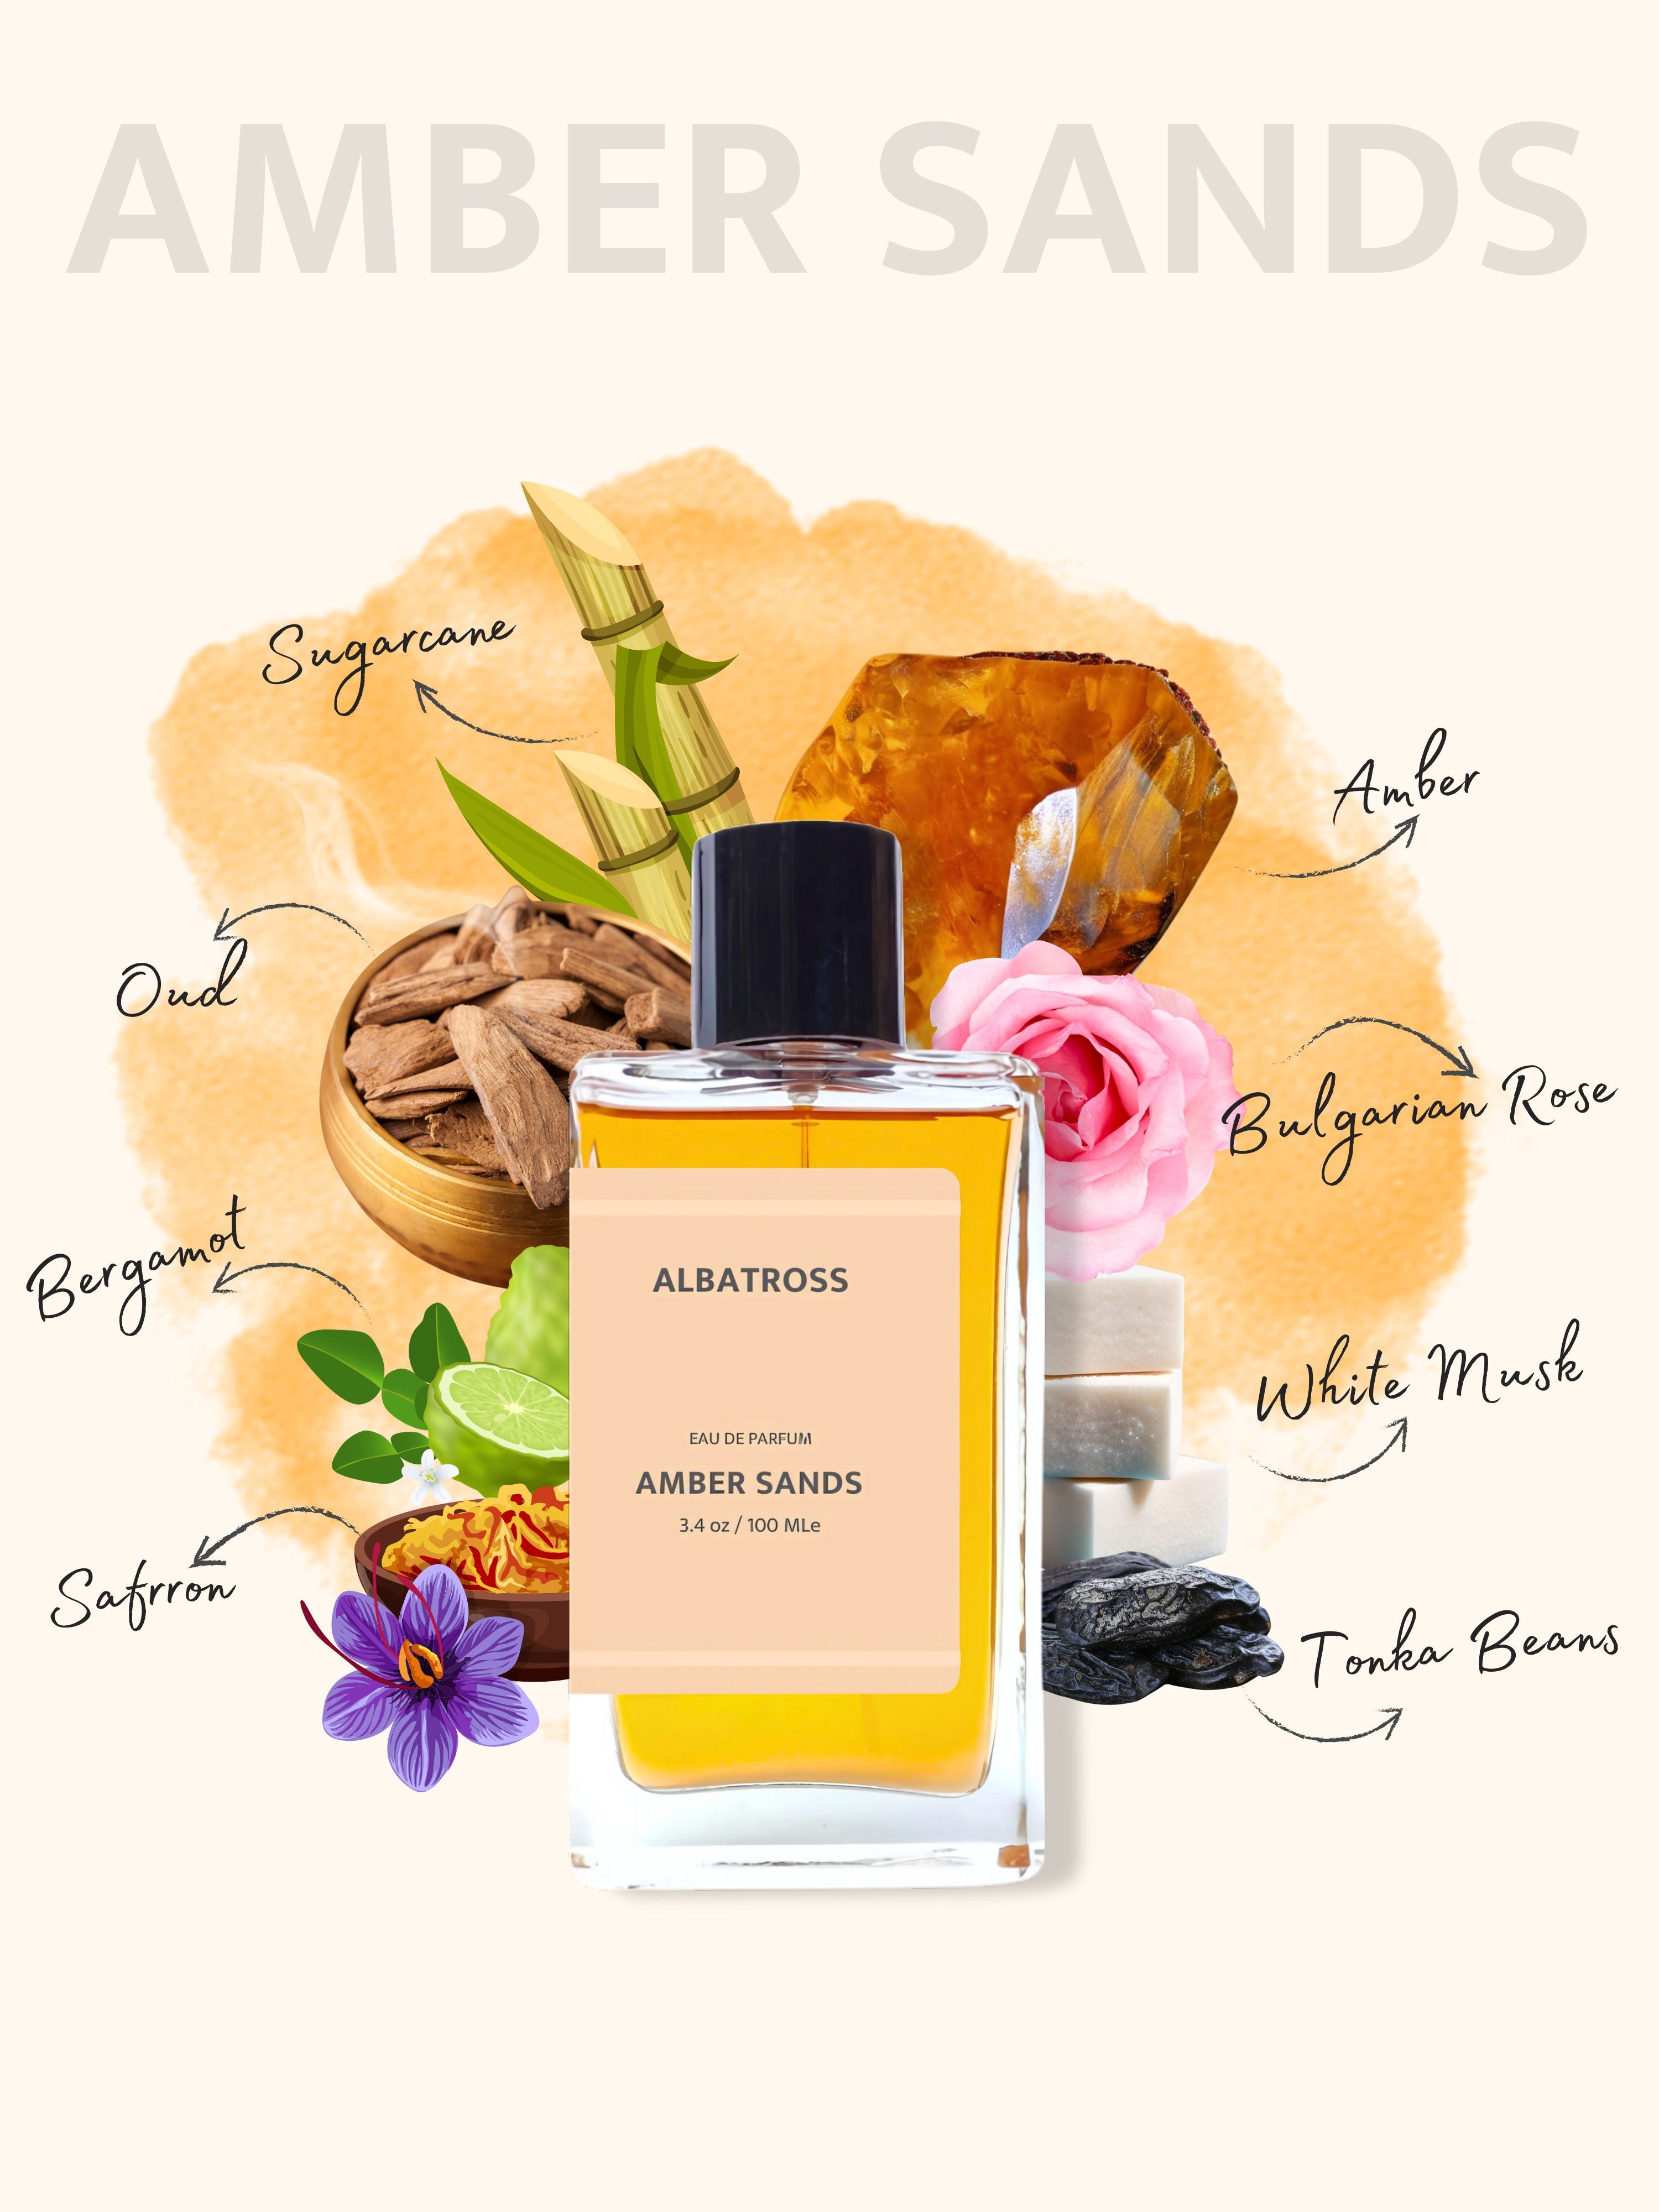
Base: Cedarwood, amber, vetiver
-
-
Note Strength & Longevity: Base notes ensure your scent lasts all day; middle notes give it character.
Step 3: Create Small Test Batches
-
Start Simple: Combine 5 drops of top, 10 drops of heart, and 5 drops of base in a small vial.
-
Add Carrier: Fill the rest (around 15 ml) with perfumer’s alcohol or jojoba oil.
-
Shake & Label: Swirl gently, label the blend name and date.
-
Let It Mature: Rest for 24–48 hours in a cool, dark place for notes to meld.
-
Test on Blotters: Smell at intervals—immediately, after 30 minutes, and at 4 hours.
Step 4: Refine Your Blend
-
Too Sharp? Add more heart or base notes to soften top notes.
-
Fades Quickly? Boost base notes or increase concentration of heart notes.
-
Too Heavy? Lighten with additional top notes or dilute slightly with carrier.
Repeat small-batch tests until you hit the perfect balance.
Step 5: Scale Up & Bottle
-
Scale Formula: Multiply your test-batch recipe (e.g., 1 ml test → 20 ml final).
-
Combine Ingredients: In a clean glass bottle, add essential oils first, then carrier.
-
Age Your Perfume: Let the full batch rest for 2–4 weeks, shaking gently every few days.
-
Transfer to Final Bottle: Use amber or cobalt glass to protect from light. Add a sprayer or rollerball top.
Bonus Tips for a Pro Touch
-
Use Distilled Water: If you prefer a lighter eau de toilette, add up to 10% distilled water.
-
Sterilize Equipment: Rinse all bottles and tools with alcohol to avoid contamination.
-
Keep a Perfume Journal: Record each formula, adjustments, and tasting notes for future reference.
-
Gift & Share: Small, personalized bottles make thoughtful presents—label them with your custom scent name!
Conclusion
Creating a DIY perfume lets you capture memories, moods, and personality in a bottle. With these steps, you’ll master the art of perfumery at home—no lab required. Ready to blend your own signature scent? Gather your oils, set aside some creative time, and let your nose guide the way!
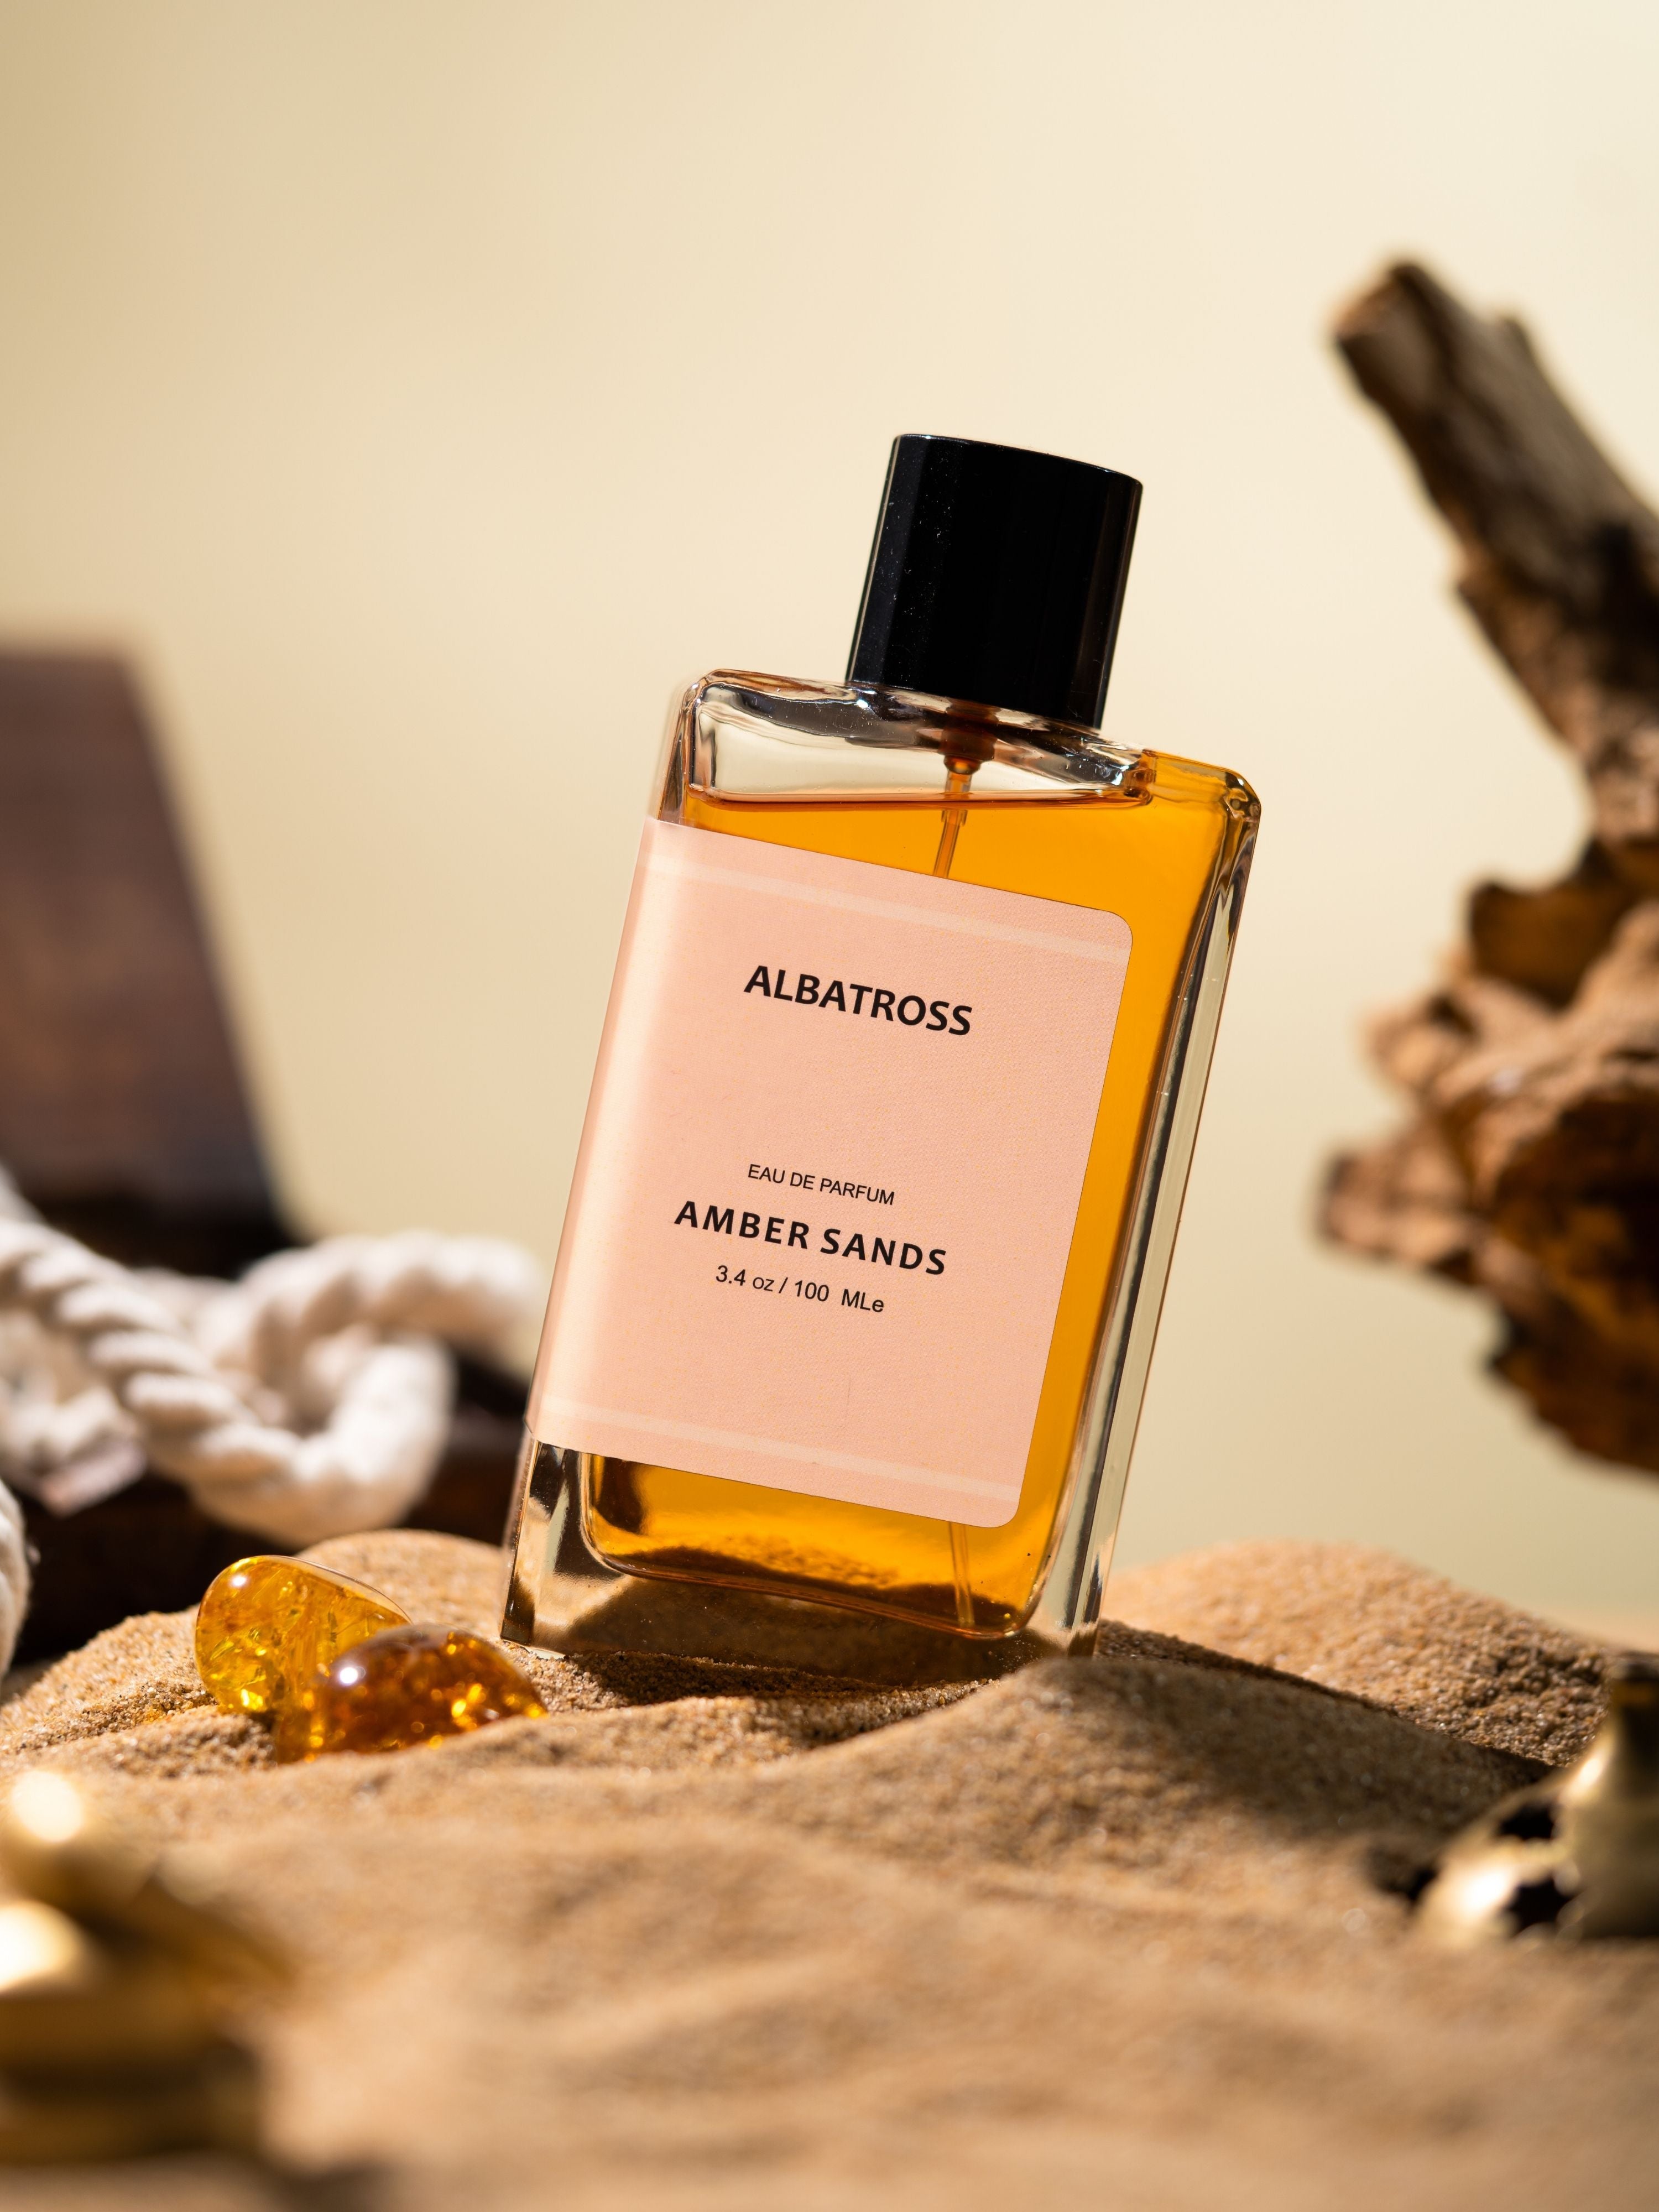
check out our amazing collection on www.albatrossclothing.in and www.albatrossperfumes.com


2 Comments
DIY Perfume Guide: How to Create Your Own Signature Fragrance at Home – Albatross Clothing
rsrnhgtlrv http://www.g7331x9227o84fmtj45e3bdcr92sv6tks.org/
[url=http://www.g7331x9227o84fmtj45e3bdcr92sv6tks.org/]ursrnhgtlrv[/url]
arsrnhgtlrv
DIY Perfume Guide: How to Create Your Own Signature Fragrance at Home – Albatross Clothing
fhtjmxhxoo http://www.g77y5t93b27a93t3283f4tlfog9wvv9bs.org/
[url=http://www.g77y5t93b27a93t3283f4tlfog9wvv9bs.org/]ufhtjmxhxoo[/url]
afhtjmxhxoo